Showing posts with label Nail decal. Show all posts

Thursday, December 3, 2015

Zodiac Nails (Born Pretty Store Sponsored)

Hi Dazzlers,
Miss me? been missing for a while, I got a part time job lately, so I need to rearrange all of my schedule again ^.^
Anyway, today I have Zodiac Nails using nail decals from Born Pretty Store 
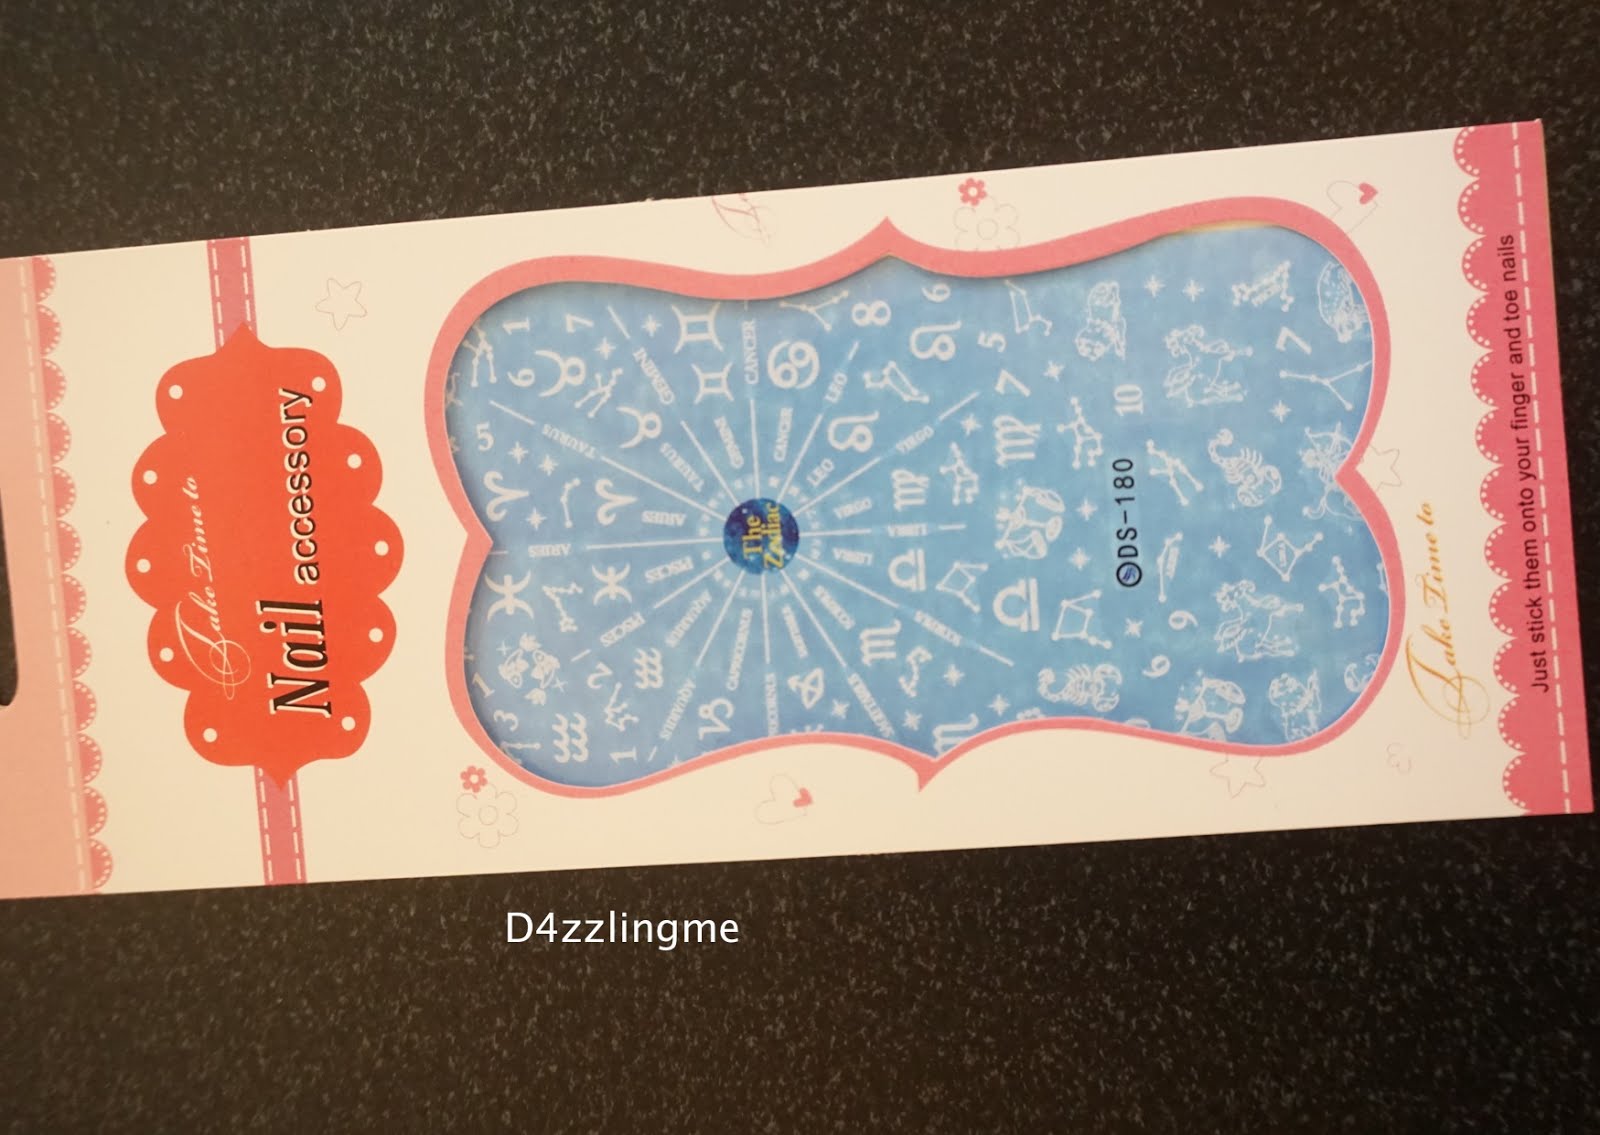

Do you like to read your daily zodiac? 
(I do sometimes hahah) 
If you like this nail decals, 
you can check it here 


What do you think?
Hope you all like it <3 

and don't forget to use code 
ISHX31
when you shop on Born Pretty Store for 10% off 

Thank you 
and see you on next post 
XOXO


Monday, November 9, 2015

Tartan Water Decals from Born Pretty Store (Sponsored)

Hi Hi Dazzlers,
Happy Monday, hope you all have a bright monday.
Today I'm going to blog about this Tartan water decals from Born Pretty Store  If you're tartan lovers you should check out this decals, they have 24 variance of tartan (yeah!!!)

I chose #9 green tartan 

This is basically stuff that I need to make today's nail art 
You gonna need scissor, tweezer, polish (for base) paper towel , 
a small cup of water 

My tips for using whole nails decals
prepare the decals first, cut it almost the size of your nails 
(not have to be perfect) 
It make it easier to trim (or clean) the decals later. 

and don't forget to REMOVE the transparent film on top of the decals 
before put it in the water 


For base I chose OPI Alpine Snow 
because it would make the green color more pop up 
and for my accent nails I used 


What do you think?
Feel like it's Christmas already?

If you like this decals you can order it on 

and you can use my code 
ISHX31 
for 10% off 

Thank you for stopping by 
and See you on next post 
XOXO 


Wednesday, September 4, 2013

Make your own Nail Decal Tutorial

Helloooo..... 
Last week was.... urghhh stormy week,  raining for several days T.T
So I did some experiment with my stamping tools ^.^ - Making your own nail decal using your stamping nail tools. 

Basically all you needs are;
1. Top coat or clear polish
2. Nail polish remover and cotton
3. Tweezer
4. Scrapper and stamp tools (in here I used membership card (as thick as credit card)
5. Konad special nail polish (but you can use nail polish or acrylic paint)
6. Dotting tool ( or you can use detail brush or toothpick)
7. Stamping plate


There are so many technique out there, on google or youtube, I just chose the one that I thing is easier :p , so here we go

  1. Stamp the design you want (I use Konad M53) then wait 'till it's completely dry
  2. Then, just coloring the gap as you like (you can use dotting tools, or toothpick or detail brush) with well in here I use Konad special nail polish (but you can use other nail polish or acrylic paints), after that wait till it's dry and add a layer of top coat on top of the design. Wait 'till it's dry.
  3. After that peel the image with the tweezer (or you can use your finger but I feel the tip of the tweezer make it easier to work with rather than our finger), stick the design on your nail (but your nail polish must be in a bit sticky and tacky condition) Finally just add a layer of top coat to seal them. 

My result;


Making this decal are so time consuming, but I think it make stamping design prettier ^.^
What do you think?
Thank you for reading <3